
Mastering the Art of Tying a Slip Knot: A Step-by-Step Guide for Beginners
Are you a beginner in the world of knot tying, hoping to master one of the most essential knots – the slip knot? Look no further, as we present to you a step-by-step guide to help you become a slip knot tying maestro. Whether you’re a sailor, camper, or simply want to expand your knot-tying skills, this article is for you.
In this comprehensive guide, you’ll learn the technique of tying a slip knot from start to finish. We will break down each step, making it easy for even the most inexperienced beginners to follow along. From choosing the right type of rope to understanding the loop formation, our instructions are clear and concise.
By mastering the art of tying a slip knot, you’ll open the doorway to various applications in your everyday life. Whether you plan to use it for securing objects, hoisting, or even in a survival situation, this versatile knot is a must-know.
So grab a piece of rope, and let’s dive in together as we unravel the secrets of tying a slip knot like a pro. Get ready to impress your friends with your newfound knot-tying skills!
Why Learn to Tie a Slip Knot?
Whether you’re an outdoor enthusiast, a DIY enthusiast, or simply someone looking to expand your skill set, learning to tie a slip knot is a valuable endeavor. The slip knot is one of the most versatile knots out there, with a wide range of applications. It can be used for securing objects, hoisting, rescue operations, or even in survival situations. By mastering the art of tying a slip knot, you’ll have a valuable tool at your disposal that can come in handy in various situations.
Understanding the Anatomy of a Slip Knot
To truly master the art of tying a slip knot, it’s important to understand its anatomy. A slip knot consists of two main components: the standing end and the working end. The standing end is the part of the rope that remains fixed, while the working end is the part that you manipulate to create the knot. By understanding the different parts of the slip knot, you’ll be able to tie it more effectively and with greater precision.
To create a slip knot, you’ll need to create a loop with the working end of the rope. This loop is what allows the slip knot to be easily adjusted and undone. By familiarizing yourself with the loop formation, you’ll be able to tie a slip knot confidently and effortlessly.
Common Mistakes to Avoid When Tying a Slip Knot
While tying a slip knot may seem simple, there are a few common mistakes that beginners often make. By being aware of these mistakes, you can avoid them and ensure that your slip knots are secure and reliable.
One common mistake is not properly adjusting the size of the loop. If the loop is too small, it can be difficult to tighten the slip knot properly. On the other hand, if the loop is too large, the slip knot may not hold securely. Take the time to adjust the size of the loop to ensure that your slip knot is just right.
Another mistake to avoid is pulling the working end of the rope too tightly when tightening the slip knot. This can cause the knot to become overly tight and difficult to undo. Apply gentle and even pressure when tightening the slip knot to achieve the perfect balance.
Tips for Practicing and Perfecting Your Slip Knot Technique
To become a master at tying slip knots, it’s important to practice regularly and focus on improving your technique. Here are a few tips to help you practice and perfect your slip knot skills:
1. Start with a larger rope: If you’re just starting out, it can be helpful to practice tying slip knots using a larger rope. This will make it easier to see and manipulate the rope, allowing you to focus on mastering the technique.
2. Use different types of ropes: Experiment with different types of ropes to see how they affect the slip knot. Some ropes may be easier to work with than others, so it’s important to familiarize yourself with different materials.
3. Challenge yourself: As you become more comfortable with tying slip knots, challenge yourself by tying them in different scenarios or with one hand. This will help to improve your overall knot-tying skills and make you more versatile.
4. Seek feedback: Don’t be afraid to seek feedback from others who are experienced in knot tying. They may be able to offer valuable tips and advice to help you improve your technique.
Creative Uses for Slip Knots in Various Crafts and Activities
Aside from its practical applications, slip knots can also be used creatively in various crafts and activities. Here are a few examples:
1. Jewelry Making: Slip knots can be used to create adjustable bracelets or necklaces. This allows the wearer to easily adjust the length of the jewelry to their preference.
2. Macrame: Slip knots are commonly used in macrame projects to create adjustable closures or to secure pieces together.
3. Crochet or Knitting: Slip knots can be used as a starting loop for crochet or knitting projects. They provide a secure foundation for the stitches and can be easily undone when needed.
4. Decorative Knots: Slip knots can also be used to create decorative knots in various crafts, such as rope baskets or wall hangings.
Advanced Variations of the Slip Knot
Once you’ve mastered the basic slip knot, you may want to explore advanced variations to expand your knot-tying repertoire. Here are a few advanced variations of the slip knot:
1. Slip Knot Hitch: This variation is commonly used in sailing and allows for quick and easy adjustments.
2. Running Slip Knot: The running slip knot is a versatile knot that can be used for a wide range of applications, such as securing a load or creating a quick-release mechanism.
3. Slip Knot Loop: This variation is often used for lashing and can be easily adjusted and undone.
Troubleshooting and Troubleshooting Tips
Even with practice, it’s possible to encounter difficulties when tying slip knots. Here are a few troubleshooting tips to help you overcome common issues:
1. Knot Slipping: If your slip knot is slipping, try adjusting the size of the loop to make it smaller. This will increase the friction and help the knot hold more securely.
2. Knot Difficulty to Undo: If your slip knot is difficult to undo, try loosening the tension on the standing end of the rope. This will make it easier to slide the loop and release the knot.
3. Knot Not Holding: If your slip knot is not holding, check that you’re applying even pressure on both ends of the rope when tightening the knot. Uneven pressure can cause the knot to slip or become loose.
Conclusion
Congratulations! You’ve now mastered the art of tying a slip knot. By following the step-by-step guide and practicing regularly, you’ve gained a valuable skill that can be applied in various situations. Whether you’re a sailor, a camper, or simply someone looking to expand your knot-tying abilities, the slip knot is a must-know.
Remember to always choose the right type of rope for your intended use, understand the anatomy of the slip knot, and practice regularly to perfect your technique. With time and dedication, you’ll become a slip knot tying maestro, impressing your friends and tackling any knot-tying challenge that comes your way. So grab a piece of rope and start mastering the art of tying a slip knot today!
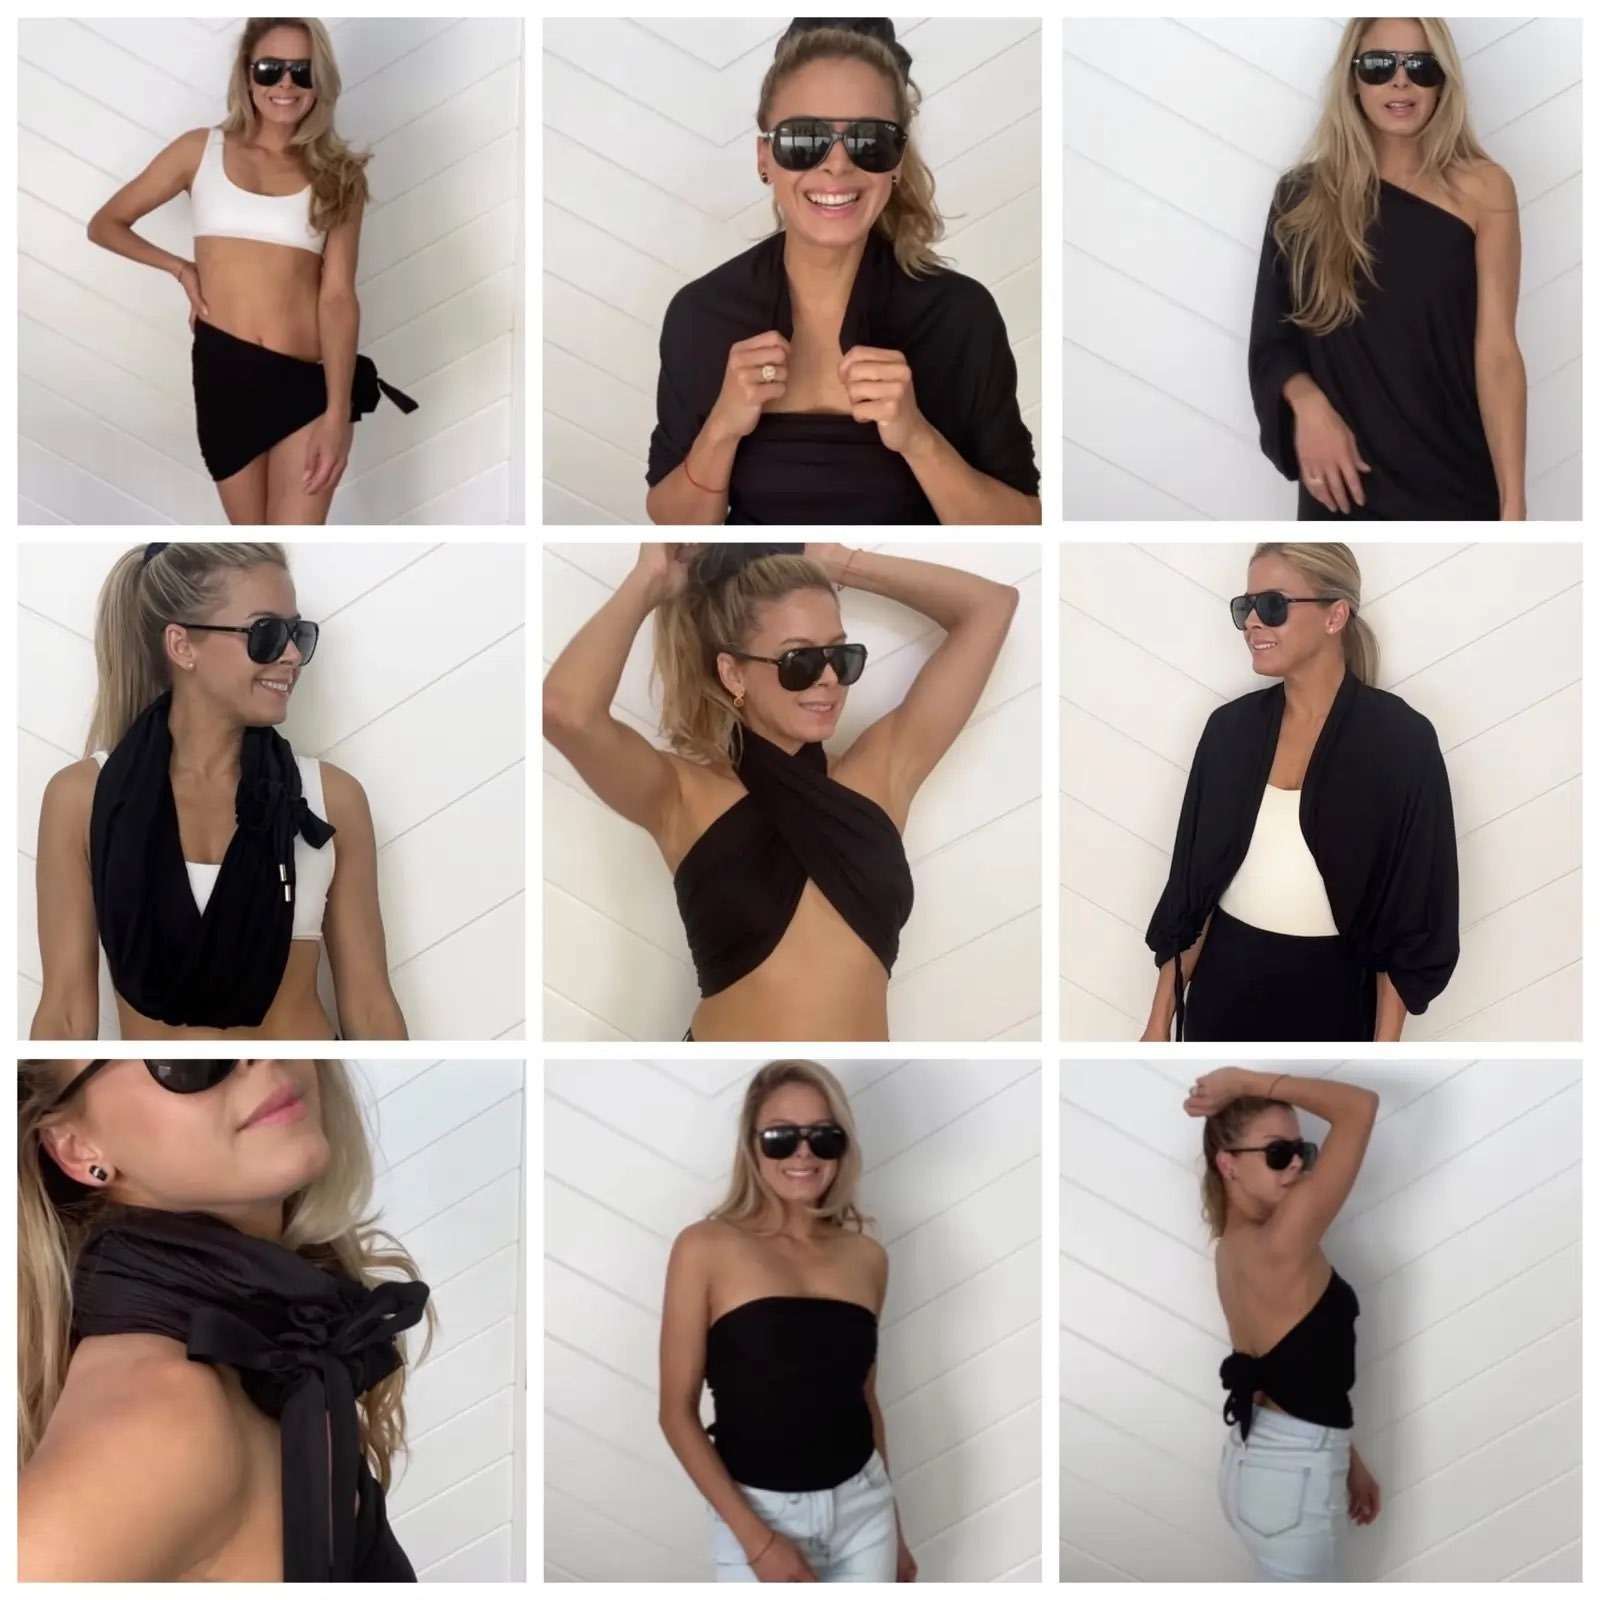
Scarves for women FER
More than just a versatile accessory, FER also makes the ideal gift for any fashion-conscious individual. With its innovative design and luxurious appeal, it’s sure to impress and delight. Ready to explore the current color options available? Click here to see what awaits at Shopfers.com!
- how to get on the cover of sports illustrated swimsuit
- how to make a swimsuit cover up youtube
- how to make a swimsuit cover up out of a t shirt
- how to make a swimsuit cover up from a towel
- how to make a swimsuit cover
- plus size infinity scarf lightweight
- best infinity scarves for travel
- infinity scarf outfit ideas winter
- how to wear infinity scarf with dress
- infantry black scarves for women
- women’s scarves online
- women’s dress scarves
- How much should you spend on bridesmaid gifts?
- Is it customary to give bridesmaids a gift?
- What can I give my bridesmaids?
- What should bridesmaid give for wedding gift?
- How do you wear a scarf as a dress?
- swimsuit cover up dress
- swimsuit cover up plus size
- swimsuit cover up skirt
How to wear an infinity scarf: 15 Ways to Wear an Infinity Scarf: https://www.wikihow.com/Wear-an-Infinity-Scarf